Fermented Hot Sauce from Garden Peppers
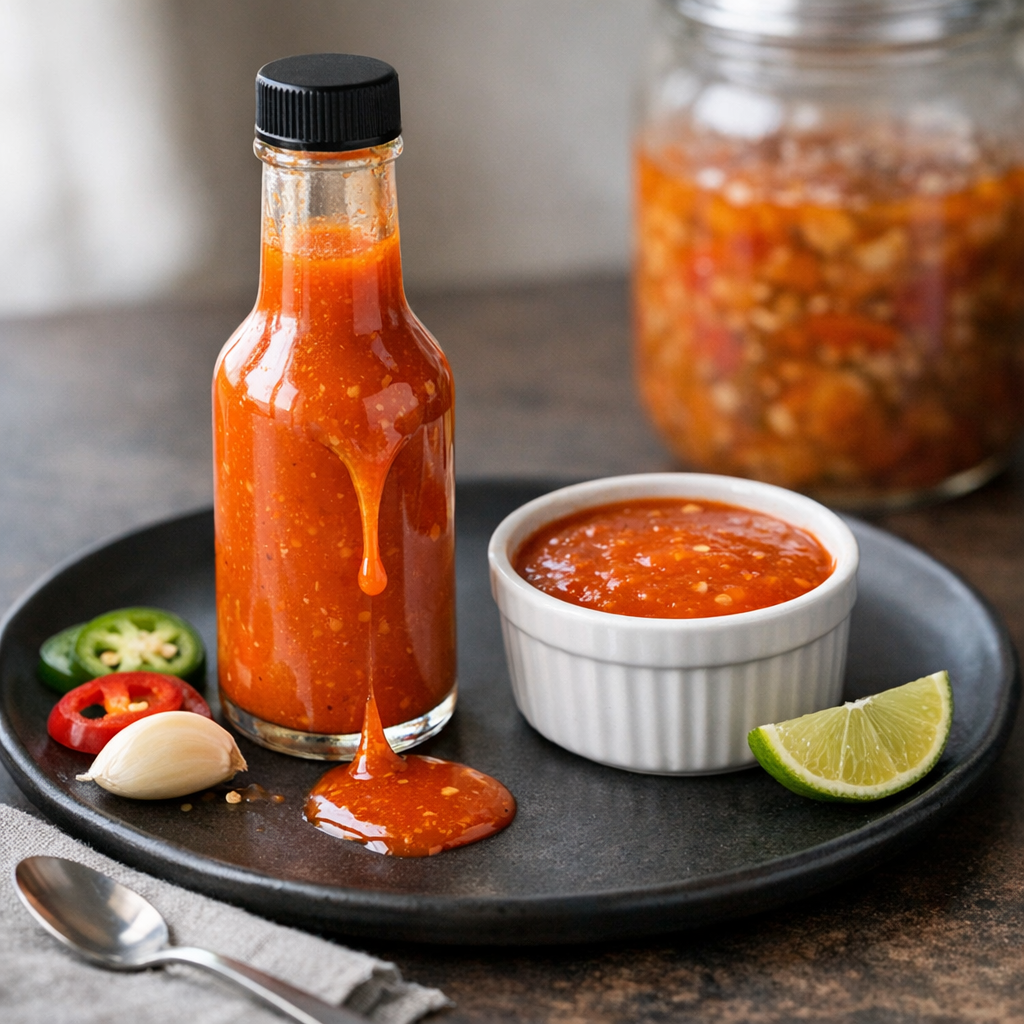
A bright, complex hot sauce made by lacto-fermenting fresh garden peppers with garlic and onion, then blending into a pourable sauce. Fermentation builds acidity and aroma while keeping the heat vibrant and the flavor layered.
This is the kind of project that turns a pepper harvest into a living experiment: salt, time, and microbes doing quiet work on your countertop. By weighing your ingredients and targeting a specific salt percentage, you can steer fermentation toward lactic acid bacteria for a clean, tangy result. The payoff is a sauce that tastes deeper than vinegar-only hot sauce, with a rounder acidity and a naturally preserved bite.
Total Time
336 hr 20 min
Prep Time
20 min
Servings
16
Ingredients
For the ferment
- •500 g mixed garden peppers (e.g., jalapeño, serrano, fresno, habanero), stems removed; include some seeds for more heat
- •80 g onion, roughly chopped
- •20 g garlic cloves, peeled
- •10 g non-iodized salt (2% of total produce weight; see note in instructions)
- •Non-chlorinated water, as needed to keep solids submerged (filtered or boiled and cooled)
To finish (after fermentation)
- •120–180 ml fermentation brine (start with 120 ml; add more to thin)
- •1–2 tbsp apple cider vinegar or distilled white vinegar (optional, for extra brightness and stability)
- •1 tsp sugar or honey (optional, to round acidity)
- •Zest and juice of 1 lime (optional)
Instructions
- 1
Sanitize your setup: wash a 1-quart (1 L) jar, lid/airlock, and a fermentation weight with hot soapy water. Rinse well. (A clean setup reduces the odds of mold.)
- 2
Prep the peppers: wear gloves if using hot varieties. Remove stems; slice or roughly chop peppers so they pack tightly and ferment evenly.
- 3
Weigh for precision: weigh peppers + onion + garlic (in grams). Calculate salt at 2% of that weight (salt g = total produce g × 0.02). Example: 500 g peppers + 80 g onion + 20 g garlic = 600 g produce; salt = 12 g.
- 4
Salt and pack: toss the chopped produce with the measured salt until evenly coated. Pack tightly into the jar, pressing down to release liquid. Add any liquid that accumulates in the bowl.
- 5
Add water only if needed: the goal is to keep everything submerged under brine. If the vegetables don’t release enough liquid to cover, add a small amount of non-chlorinated water until the surface is covered by at least 1–2 cm.
- 6
Weight and seal: place a fermentation weight on top to keep solids below the brine line. Seal with an airlock lid, or use a regular lid set on loosely so gas can escape.
- 7
Ferment: keep at 18–22°C (65–72°F), out of direct sun, for 7–14 days. You should see bubbles and a pleasantly sour, peppery aroma. Check daily for the first few days to ensure everything stays submerged; skim any harmless white yeast film (kahm) if it appears.
- 8
Taste and decide: after day 7, taste a small piece. When it’s tangy with a clean lactic acidity (not raw), it’s ready. Longer fermentation generally increases sourness and complexity.
- 9
Blend: transfer fermented solids to a blender. Add 120 ml of the fermentation brine and blend until very smooth, adding more brine as needed for your preferred thickness.
- 10
Adjust (optional): blend in vinegar for extra brightness and a slightly lower pH, and/or sugar/honey to soften sharp acidity. Add lime zest/juice if you want a citrus-forward finish.
- 11
Strain or keep it rustic: for a thinner, pourable sauce, strain through a fine-mesh sieve; for a thicker sauce, leave unstrained.
- 12
Bottle and store: funnel into clean bottles/jars. Refrigerate. Flavor will continue to meld over the next week.
Nutrition Facts
Per serving
* Percent Daily Values are based on a 2,000 calorie diet.
Nutrition calculated automatically from ingredients.